Are you willing to increase your blogger website’s traffic but don’t know how to add keywords properly? So, here is a step-by-step guide that will teach you how you can add keywords in your Blogger post.
Is it possible to add meta keywords tag in Blogger posts?
No! There is no feature in Blogger that can directly add meta keywords tags to a Blogger website’s post just like a WordPress website does. But you can still optimize your post by placing the keywords in the right places. That's why we will add keywords through content, title, links, and heading tags.
A sample meta tag code:
<meta name="keywords" content="keyword1, keyword2, keyword3">
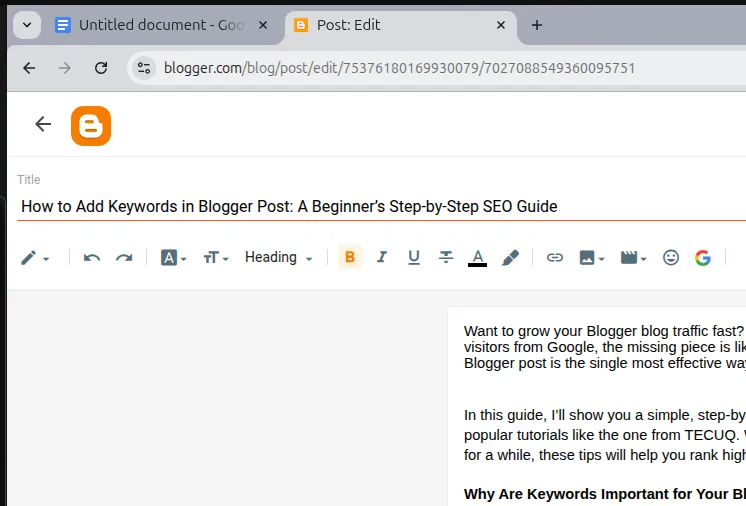
First add your main keyword in the Title:
Add the main keyword in your title; in Blogger, this title value works as a title tag and as well as h1 tag. So select the title very carefully and make sure that it should have your main keyword, and make the length of the title between 50 to 60 characters. This title tag is one of the most important components of your blog page, as it contains both the h1 & title tags.
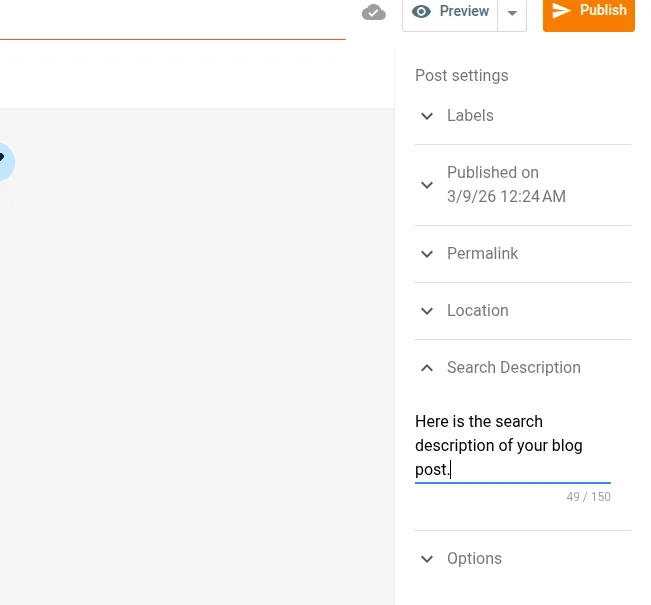
Add meta description:
Now in the right-side post-setting section, you will find the “Search Description"; here enter your post’s description. It works as a meta description tag in the blog post. Here in the search description you can add your alternate keywords as well as your main keyword, but don’t write the description the same as the title. Between 120 to 158 characters is the perfect, suitable length for the meta description.
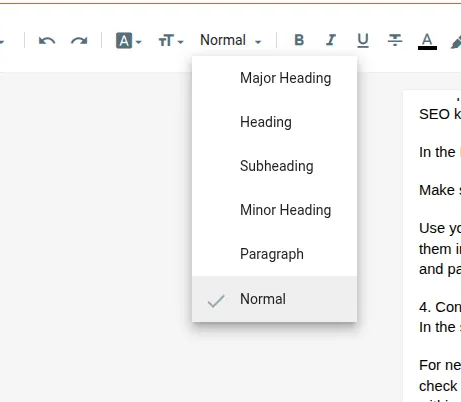
Add keywords through headings:
In the main toolbar you can see these headings options. Here you can see six options; each option refers to different HTML tags: “Major Heading” means H1, “Heading” means H2, “Subheading” means H3, “Minor Heading” means H4, “Paragraph” means the p tag, and at last, “Normal” means nothing.
As you already set the h1 tag by using the title, you don’t need to use the h1 tag again. Because each article should contain only one H1 tag, not more than that. But you can use multiple h2, h3, and h4 tags. So use them to structure your blog post, and add your important keywords in these heading tags.
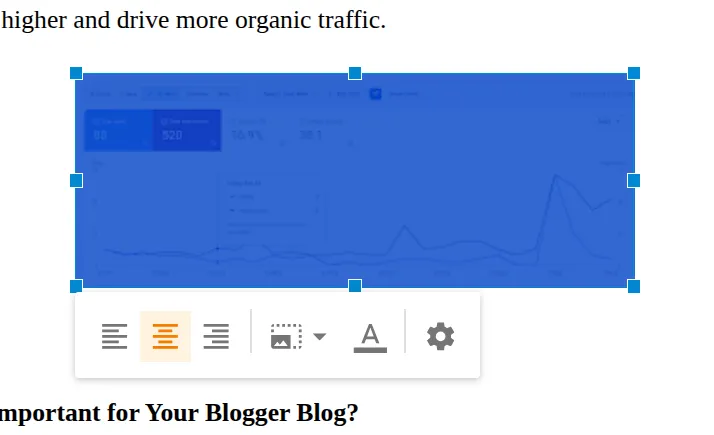
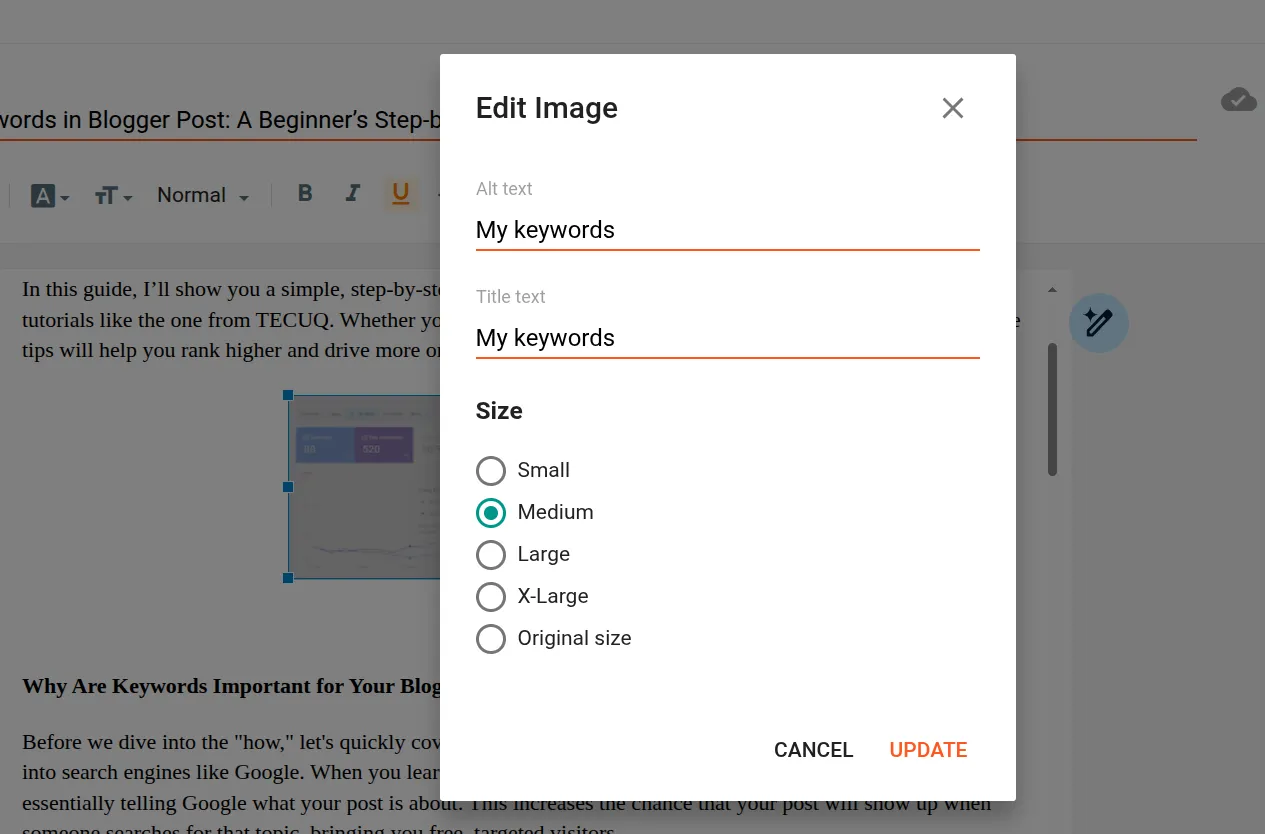
Setting up the Image Alt text:
Now set the image alt tags and image description and place your keywords in them. This image alt text is also important for your image SEO. When a search engine shows your website’s image in their image section, then it uses the “image alt” text as the header of the image as well as to categorize the image. It tells the search engines what this image is about.
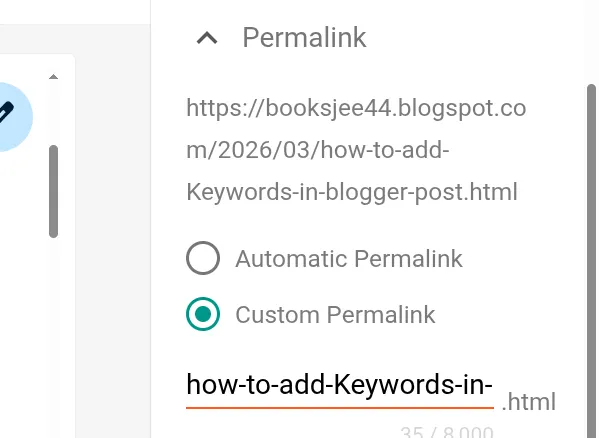
Customize your post’s URL:
Now again in the right-side post setting section, click on the Permalink option, choose the Custom Permalink, and add your main keyword here. Replace the spaces with hyphens, e.g., from “how to add keyword” to “how-to-add-keyword”.
Additional Settings:
You can also use the labels and bold text feature to add the keywords, but make sure not to add too much. Your content should look natural, not like the keyword is forcefully placed here. Avoid keyword stuffing. And you are all good to go!
At last, publish your post by clicking on the Publish button, and then confirm.
Check your SEO Score:

After publishing your post, go to this Free SEO Score Checker tool and paste the link of your post. It will analyze your post across 50+ ranking factors and create a detailed SEO report for you. Now, by the SEO report, you can easily rectify your post and make it SEO-friendly.
Free SEO Score Checker: Click here